Desk Setup Ideas for a Tidy Tech Desk
Published 2026-10-16
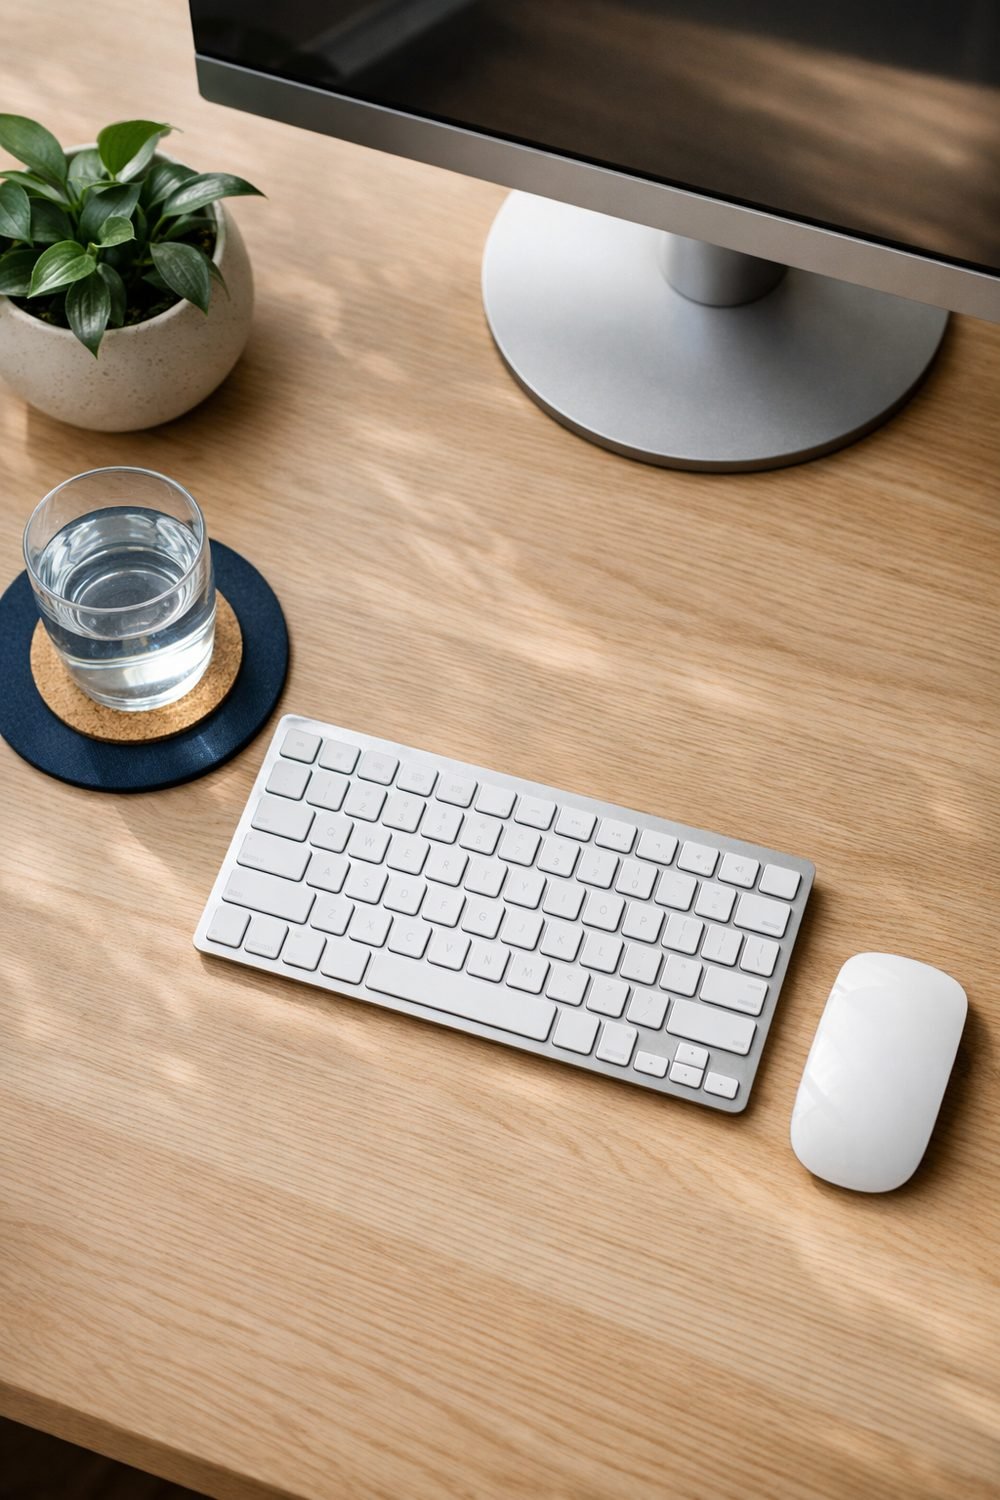
A desk can easily become a mess, and it is hard to plan for an ultrawide monitor when there is no room for it. Two chargers I never used, a tangle of cables behind the monitor, and a mug that somehow lived there for a week at a time. It is easy to sit down to work and spend the first ten minutes moving things around just to find space for a notebook.
What fixed it wasn't buying a bunch of new gear. It was planning. Once I measured things, picked a layout and gave every item a place, the desk mostly stayed tidy on its own. These tidy desk setup ideas walk you through the same steps, one at a time, so you can do it in an afternoon.
Short on time? Our top picks: Ergotron LX Monitor Arm, BenQ ScreenBar, Anker USB-C Charging Station and Velcro Brand Reusable Cable Ties. See all picks
What you need
You don't need anything fancy to start. Most of this is probably already in your house.
- A tape measure
- Paper and a pencil (graph paper is nice but not required)
- A roll of masking tape or small sticky labels
- A marker
- A few reusable cable ties or velcro straps
- A cloth for wiping down the desk
- About two hours, plus a bit of patience for the cable part
Optional extras like a monitor stand, cable tray or desk lamp come later. It's best to wait on those until you've finished Step 3. You'll have a much better idea of what you actually need by then.
Step 1: Measure your desk and your gear with a desk setup planner
Grab the tape measure and write down three numbers for your desk: width, depth and height. Then do the same for every main item that lives on it. That means your screen (including its stand), your laptop, your keyboard, your speakers and anything else that takes up real space.
Now sketch the desk on paper as a simple rectangle, like a basic printable desk setup planner. Draw each item to rough scale. It doesn't have to be pretty. You're just checking what fits before you lift anything heavy.
This step feels boring, I know. But it can save you from buying a monitor stand that is too deep for your desk. Writing the depth down is what makes a mismatch like that easy to catch.
Tip: Measure the space behind and under the desk too. Where your wall socket sits, and how far it is from the desk, will matter a lot in Step 4.
Step 2: Pick a tidy desk setup for your home office
With your sketch in front of you, think about what you do at this desk most days. Not what you'd like to do someday. What you actually do. Then pick a layout that suits it.
Single screen
Put the screen in the center, directly in front of your chair, whether it's a wide monitor or a standard one. The keyboard goes right in front of it, with the mouse on your dominant side. A notebook or tablet sits off to the other side. This is the simplest setup and, honestly, the easiest to keep clean.
Laptop plus a second monitor with HDMI
Raise the laptop on a stand, such as the Rain Design mStand, so its screen sits closer to eye level, and place the second screen, such as a QHD monitor, beside it. Decide which one is your "main" screen and put that one more centered. If you're typing on the laptop's keyboard all day while it's up on a stand, that gets awkward fast, so a separate keyboard and mouse help here.
Creator corner
This one's for people who record video, stream or take a lot of calls. You've got a main screen, a light and a spot for a microphone or a camera, or a monitor with webcam built in. Keep the light and camera on the side you face, and leave a clear path for the mic arm so it doesn't knock into your screen.
Tip: Before you commit, sit in your chair and "mime" a normal work hour. Reach for the mouse, grab your phone, open your notebook. If you keep stretching or twisting, move things on your sketch until it feels natural.
Step 3: Sort everything into zones for a tidy desk
This step tends to change a desk the most. The idea is simple. Things you use every day go closest to you. Things you use sometimes go a bit farther. Everything else goes off the desk.
- Daily zone (within easy reach): keyboard, mouse, the notebook you actually write in, one pen, your phone
- Occasional zone (arm's length): headphones, a charging spot, a lamp, a small tray for sticky notes
- Storage (drawer, shelf or box): spare cables, old chargers, the stack of manuals, extra pens
Go through every single item on your desk right now and give it a zone. Be honest. It's common to find six pens out on a desk when only one is in use. The other five went in a drawer, and I haven't missed them.
If something doesn't fit any zone, ask yourself why it's there. Sometimes the answer is "no reason," and it can leave the room.
Tip: Put a small piece of masking tape on the desk to mark where your daily zone ends for the first week. It sounds silly, but it stops stuff from creeping back in.
Step 4: Make a cable and charging plan
Here's where most desks fall apart. Cables pile up because nobody planned where they'd go. So let's plan it.
On a fresh sheet of paper, make a list with one line per device. For each one, write down:
- The device name
- What it plugs into (wall socket, power strip, laptop, hub)
- Which port it uses
- How long the cable is
Once you've got the list, you'll probably spot a few problems. Maybe a cable is way too long and coils up on the floor. Maybe two devices share a charger and you keep swapping them. Write those down too.
Next, unplug everything. Yes, all of it. Then plug things back in one at a time, following your list, and route each cable along the back edge of the desk. Use a cable tie or velcro strap, such as Velcro Brand reusable ties, to group cables that head the same way. A cable tray under the desk or a few stick-on clips along the back edge can hold them up off the floor.
Label both ends of each cable with masking tape and a marker. "Monitor." "Speakers." "Lamp." The next time something stops working, you'll know right away which cable to check.
Tip: Give your phone and earbuds one fixed charging spot in the occasional zone. When charging has a home, cables stop wandering across the desk.
Quick side note: if you're on our email list, you can grab our free Gift Ideas for Him Checklist, with 10 ideas sorted by interest, which is handy when a birthday sneaks up on you.
Step 5: Check your power setup
This isn't the place for detailed electrical advice, so consult an electrician for anything beyond basics. But a few common-sense habits are worth keeping in mind while you've got everything unplugged.
Don't overload sockets or power strips. Don't plug one power strip into another. Keep cables away from spots where they'll get pinched by chair wheels or desk legs, and don't run them under rugs where they can heat up or get worn down without you noticing.
Read the instructions that came with each device and power strip, and follow them. If you're unsure how much your setup can safely handle, check the product's manual or the seller's page, or ask a qualified electrician. That's a much better plan than guessing.
Tip: While you're down there, look at the condition of your cables. If any are frayed, cracked or bent sharply, set them aside and replace them.
Step 6: Add accessories only where they solve a problem
Now, and only now, think about accessories. You've lived with your new layout for a bit, so you know where the real annoyances are.
Here are the ones I'd consider, depending on what bugged you:
- Monitor or laptop stand (handy for an ultrawide curved monitor too): if your screen sits too low and you catch yourself hunching
- Desk lamp: if your desk is dim in the evening or the main light causes glare on your screen
- Organizer tray: if small things like sticky notes, a USB stick and earbuds keep spreading around
- Cable clips or a tray: if cables still slide off the back edge after Step 4
What would I skip? Those huge all-in-one desk organizers with twelve compartments. Many people find they just become a new place for clutter to hide. Same goes for anything you're buying mostly because it looks good in someone else's desk photo. Pick based on your needs, not trends.
Tip: Set a rule for yourself. One new accessory at a time, and use it for a week before buying another. You'll avoid a drawer full of stuff that didn't help.
Step 7: Do a five-minute weekly reset
No setup stays tidy forever without a little upkeep. Mine slides a bit every week. So every Friday afternoon, I take five minutes and do a reset.
- Take everything off that doesn't belong in the daily or occasional zone.
- Carry mugs, wrappers and papers to where they actually go.
- Wipe down the desk surface with a cloth.
- Coil any cables that came loose and put them back in their clips.
- Put the chair back where it belongs.
That's it. It's short enough that I actually do it, which is the whole point. Sitting down to a clean desk on Monday morning feels great.
Tip: Set a repeating reminder on your phone. After a few weeks, you won't need it.
Troubleshooting
Clutter keeps coming back
Usually this means something doesn't have a home. Look at what piles up most. If it's mail, give it a tray off the desk. If it's chargers, give them a fixed spot. Clutter is often just stuff with nowhere to go.
My cables are still a mess behind the desk
Check your cable lengths against your plan. Long cables tend to bunch up. Coiling the extra length loosely and strapping it with velcro usually helps. Make sure the cables are attached to the desk itself and not just dangling.
The layout feels cramped
Your desk might simply be too small for everything you're trying to fit. Go back to your Step 1 sketch. Can anything move to a shelf, the wall or a side table? Speakers and printers are good candidates.
I can't reach a socket easily
Don't stretch cables tight to make them reach. Rethink where the desk sits, or check with a professional about a safe option for your space.
Gear worth a look for a tidy desk
You don't need any of this to get started, but a few well-known items can help once you know which problem you're solving. Here are some picks that fit the steps above.
Ergotron LX Monitor Arm
A good fit if your desk is small and you want to free up surface space under the screen. Check that the arm supports your monitor's weight and size, and that your desk edge works with the clamp or mount.
BenQ ScreenBar
Suits people who want desk light without a lamp base taking up room. Check that it fits the top of your monitor, especially if the screen is curved or has a thin bezel.
Anker USB-C Charging Station
Handy if you keep swapping chargers for your phone, earbuds and laptop. Check the total power output and the port types before buying, so it covers the devices on your list from Step 4.
Velcro Brand Reusable Cable Ties
A simple choice for grouping cables and strapping down extra length. They work well for people who change their setup often. Check the strap length against how many cables you plan to bundle.
IKEA Signum Cable Tray
Suits anyone who wants cables and power strips lifted off the floor and out of sight. Check that your desk design allows for mounting under the top, and measure the tray against your power strip.
Rain Design mStand
A familiar laptop stand for people who pair a laptop with a separate keyboard and mouse. Check that it suits your laptop's size and that the height gets the screen near eye level.
Logitech MX Keys and MX Master
A good match if you raise your laptop and need a separate keyboard and mouse. Check the size against your desk sketch and whether you'd prefer a more compact layout.
Check current plans and prices on each brand's own site before you buy.
FAQ
How long does this whole setup take?
For most people, a couple of hours is enough for the first pass. The cable step takes the longest. You'll probably tweak things over the next week as you notice what works.
Do I need to buy anything to get a tidy desk?
Not really. Measuring, sorting into zones and labeling cables cost almost nothing. Accessories can help, but I'd only add them once you know exactly what problem they'll solve.
What's the best layout for a small desk?
The single-screen layout tends to work best on small desks because it keeps things centered and simple. A laptop stand can also free up surface space underneath. Measure first so you know what will really fit.
How often should I redo the whole setup?
Only when something changes, like a new screen, a new job or moving to a different room. The weekly reset handles everyday mess. A full redo every so often is fine, but you shouldn't need it often.
Your next step
Pick one step from this guide and do it today. Start with Step 3, sorting everything into zones, because you'll see a difference right away. And while you're at it, join our email list to grab the free Gift Ideas for Him Checklist (10 ideas by interest). After that, have a look around the rest of Tech Gear Guide for more ideas to make your desk work for you.
Some links on this site may earn us a commission. Read our disclosure.