How to Organize Cables: A Simple Plan
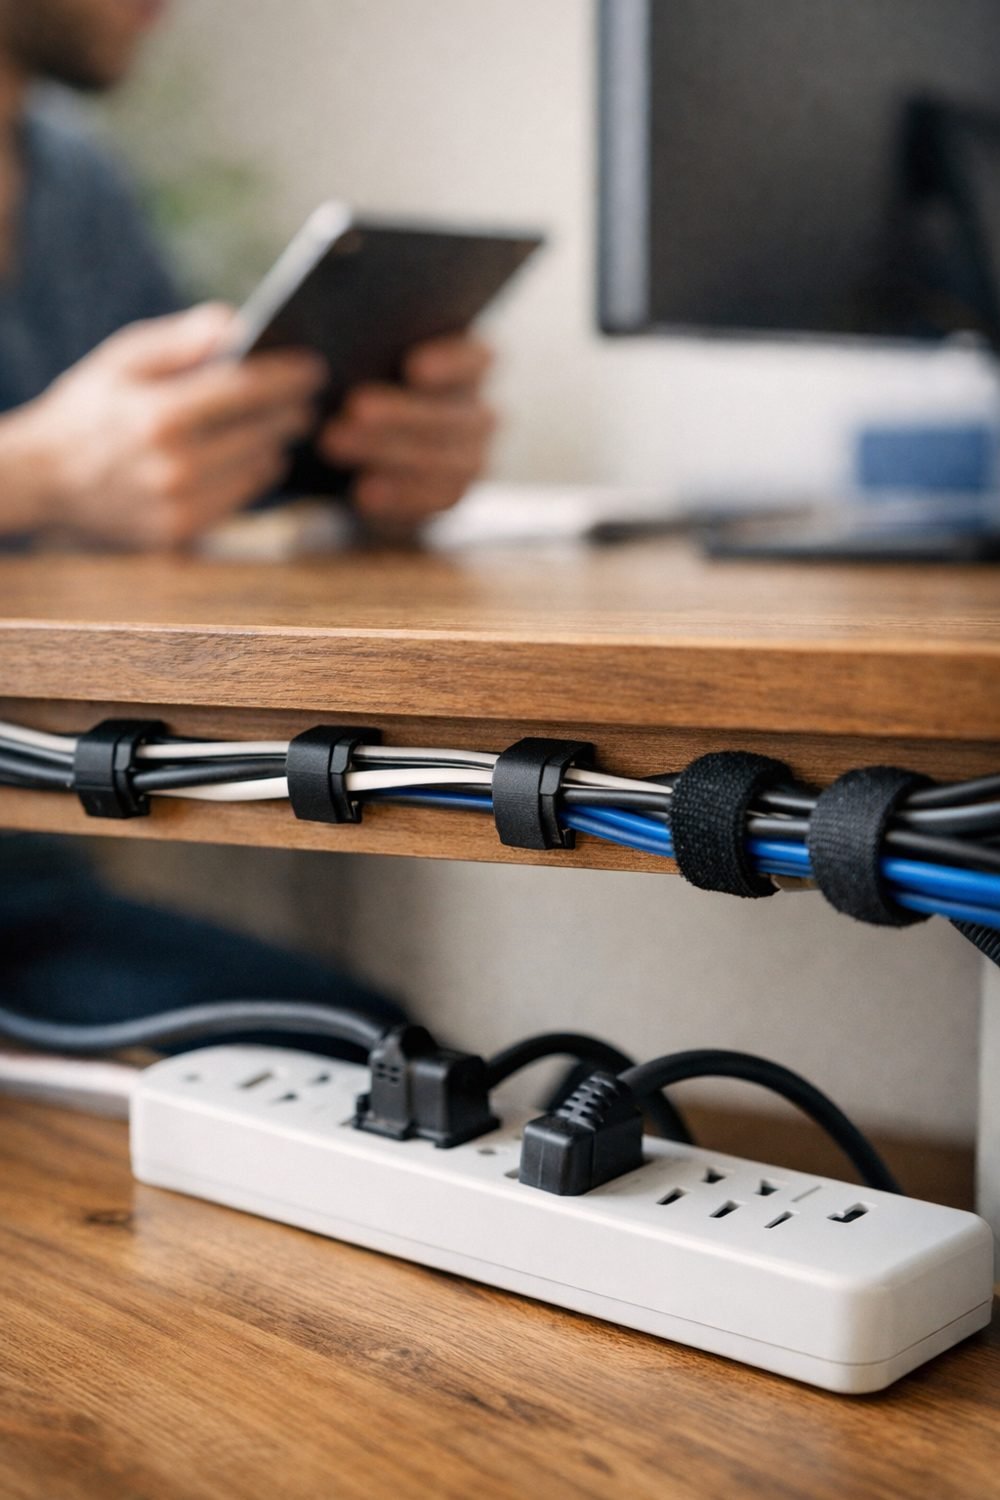
Your desk might look fine from the front while the back is a tangle of cords. Then I'd drop a pen behind it and find a nest of black cables that I couldn't name. One of them went to a router I'd thrown out two years earlier. That was my sign.
Cable organization ideas are only useful once you have a plan, and cables get a lot easier to manage with one. You don't need fancy gear or a whole weekend. Most of this takes an afternoon, and the steps below work whether you're setting up a fresh desk or tidying one that has gotten out of hand.
Short on time? Our top picks: Velcro Brand One-Wrap Ties, JOTO Cable Sleeve, Brother P-touch Label Maker and Command Cord Clips. See all picks
What you need
Gather these before you start, so you're not hunting for scissors halfway through with a monitor unplugged.
- A few small boxes, bags or trays for sorting
- Reusable hook-and-loop ties (the soft fuzzy kind, such as Velcro Brand One-Wrap Ties)
- A cable sleeve or two, if you have a lot of wires going to one spot
- Small tags, masking tape, or a label maker like a Brother P-touch Label Maker
- A pen that writes on tape
- Adhesive cable clips such as Command Cord Clips or a tray that fits under your desk (optional, but nice)
- A shoebox or plastic bin for spares
- Your phone, to snap a photo before you unplug anything
That last one sounds silly. Trust me, it isn't.
Step 1: Take a photo, then unplug and sort
Before you touch anything, take a photo of the back of your setup. If something stops working later, you'll want to see where it was plugged in.
Now turn off your devices and unplug everything. Yes, all of it. Pull the cables out and lay them on the floor or a table. Then group them by device. Your monitor cables go in one pile, your computer's go in another, your speakers, your lamp, your phone charger, and so on.
If you can't tell what something belongs to, follow it back to the device before you unplug, or make a "mystery" pile. You'll deal with that pile in the next step.
Tip: Put each group in its own bag or tray. It keeps the piles from blending together when the cat walks through.
Step 2: Get rid of what you don't use
This is the part people skip, and it's the part that makes the biggest difference. Most cable messes aren't caused by bad routing. They're caused by too many cables.
Look at your mystery pile. Plug each cable into something and see if it works or if you even own a device that uses it. Be honest with yourself. If you haven't used a cable in a year and you don't know what it's for, you probably won't miss it.
Don't toss old cables in the regular trash, though. Many places have electronics recycling, and some stores take cables back. Check your local recycling rules or ask at the store to see what they accept.
Also check for damage while you're at it. Frayed ends, cracked plastic, exposed wire, or a charger that gets oddly hot should go. If you're not sure whether something is safe to keep using, look at the maker's guidance or ask someone who knows electronics.
Tip: Keep one of each common type you actually use (like a phone charging cable) and let the duplicates go, apart from one spare. More on spares later.
Step 3: Plan one path for your desk setup
Before you tie anything up, figure out where the cables will run. It helps to pick one main path, such as along the back edge of the desk and then down one leg to the power strip on the floor.
Why one path? Because when cables go in five directions, you end up with five little messes instead of one tidy line. Keeping them together means you only have to manage one bundle.
Think about where your power strip lives. If you can, mount it under the desk or sit it in a cable tray near the back. That way most cables only travel a short distance, and you're not running long wires to the wall.
Tip: Leave a little slack near each device. If a cable is pulled tight, you can't move your monitor or laptop without yanking something loose.
If you like to sketch this kind of thing out first, the Desk Setup and Cable Organization Planner below this post works as a simple desk setup planner, with space for drawing your layout and listing what plugs in where. It helps to see the plan on paper before you start sticking clips to furniture.
Step 4: Bundle with ties or sleeves, but keep it loose
Now plug your devices back in along the path you planned. Work one device at a time, using your photo if you get stuck.
Once a few cables are running the same way, gather them together with a hook-and-loop tie every so often. Spacing clips roughly every arm's length works well, but there's no magic number. You just want them to stay together without flopping around.
The big rule here: don't pull them tight. Snug is fine. Squeezed is not. Tight ties can pinch cables and wear them down over time, and they make it a pain to swap things out later.
A word of caution about zip ties. A lot of guides love them. They are best avoided in most cases. They look neat, but the first time you need to remove one cable, you're cutting ties with scissors near your wires. Reusable ties cost a bit more and save you that hassle.
Sleeves are good when you have a thick group of cables going from your desk down to the floor. You tuck them all inside and get one clean tube instead of a bunch of strands. For two or three cables, a sleeve is overkill.
Tip: Keep power cables and data cables a little apart where you easily can. It's not always possible on a small desk, and that's okay, but it makes tracing them later much easier.
Step 5: Label each end (cable label ideas)
This is the step I wish I'd started years ago. Put a small label on both ends of each cable. One near the plug at the device, one near the plug at the power strip or computer.
A strip of masking tape folded around the cable like a little flag works fine as a homemade cable label. Write something short: "Monitor," "Speakers," "Lamp," "Printer." A label maker looks nicer, but tape and a pen do the job.
Why both ends? Because when you're under the desk looking at six identical black plugs in a power strip, you want to know which one to pull without crawling back up to check.
By the way, if you're the type who likes tidy little lists, we have a free Gift Ideas for Him Checklist with 10 ideas sorted by interest when you join our email list, and it's handy for that one person who's impossible to shop for.
Tip: Label the power adapters too, not just the cables. Laptop bricks and speaker bricks look almost the same, and they are not always swappable.
Step 6: Secure the path for a tidy desk
Your bundle is tied and labeled. Now give it somewhere to live so it doesn't sag.
Adhesive clips along the back edge of the desk work well. An under-desk tray or basket is even better if you have a lot going on, because the power strip and extra slack can just sit in there out of sight.
Before you stick anything down, test it. Clean the surface, hold the clip where you want it, and check that the cables reach without stretching. Some adhesives can leave marks on furniture, so check the product details if you care about your desk's finish.
Tip: Don't secure the last bit near your laptop or phone charger. You'll want those ends free to move.
Step 7: Keep spares in one labeled box
Some cables you'll want to keep even if they aren't plugged in. A spare phone cable. The HDMI cable for when friends come over. That one weird adapter you need twice a year.
Put them all in one box. Coil each one loosely (I wrap them around my hand a few times and add a tie) and label it with what it is. Then label the box itself. "Spare Cables" in big letters is fine.
The trick is one box. Not a drawer here and a bag there. When everything lives in one spot, you'll actually find it, and you'll notice when the box starts to overflow.
Tip: Once a year, open the box and toss anything you didn't touch. It keeps the spare pile from turning into the old mess in a new place.
If you like keeping track of what gear you own, what cables go with it, and when you bought things, the Tech Gear Planner Log Book below this post works like a home office planner for that. It's not something you need, but it's useful if you have a lot of devices.
Troubleshooting
Something stopped working after I plugged it back in
Check your photo first. Then make sure the plug is pushed all the way in, since tidy bundles sometimes pull a plug slightly loose. If it's still not working, try a different port or outlet to rule out the cable.
My cables are too short for the path I planned
Move the power strip closer, or adjust the path so it's more direct. Extension cables are an option, but I'd rather change the layout than add more wire. For anything about power load or extension cord safety, check the product's instructions.
The bundle keeps sagging
Add another clip or two, or switch to a tray. Usually the sag happens at a gap where nothing is holding the weight.
It got messy again in a month
This happens to everyone. Usually one new device got added without a plan. Take five minutes, add it to the path, tie it in, and label it. Small fixes beat another full afternoon.
Cable organizing gear worth a look
You don't need much to get a desk under control, and these are well-known options for each job in the steps above. Pick only what fits your setup.
Velcro Brand One-Wrap Ties
A good fit if you want reusable hook-and-loop ties for bundling cables along your desk path. Check the length and width before buying, since thin ties suit a few cables and bigger bundles may need something longer.
JOTO Cable Sleeve
Suits anyone with a thick group of cables running from the desk to the floor. Check the diameter and whether it opens along its length, because that decides how easily you can add a cable later.
Brother P-touch Label Maker
Handy if you want neat labels on both ends of every cable and adapter instead of masking tape. Check which tape cartridges the model uses and how much they cost to replace over time.
Command Cord Clips
A reasonable pick for holding a cable path along the back edge of a desk without drilling. Check that the adhesive is safe for your desk's finish and that the clip size matches your cable thickness.
Amazon Basics Under Desk Cable Management Tray
Suits people who want the power strip and extra slack hidden under the desk. Check that the tray fits your desk's thickness and frame, and that your power strip actually fits inside.
Anker Power Strip
Worth considering if you need a power strip that sits neatly in a tray or mounts under the desk. Check the outlet spacing for bulky adapters, the cord length, and any mounting holes.
Sterilite Storage Box
A plain, affordable choice for the one-box spare cable stash. Check that the size suits your collection and that the lid closes well enough to keep coiled cables from tangling.
Check current plans and prices on each brand's own site before you buy.
FAQ
How long does organizing cables take?
For a normal desk, plan on an afternoon. The sorting and decluttering steps take the longest. Once that's done, the rest goes pretty quickly.
Are zip ties or reusable ties better?
Reusable ties are a better choice because you can open them whenever you change something. Zip ties can work for cables you'll never touch, but you'll need to cut them off later. Either way, don't pull them tight.
Do I really need to label cables or use a desk organization checklist?
You don't have to, but a simple checklist and labels save a lot of guessing later. It takes a few minutes and pays off the first time you need to unplug one thing. Tape and a pen are enough.
What should I do with old cables?
Look for an electronics recycling option near you. Some stores accept old cables too. Check your local rules so they don't end up in regular trash.
Your next step
Start small. Pick one desk, take that photo, and unplug everything this weekend. You'll be surprised how much lighter it feels once the extra cables are gone. If you'd like a little something for your inbox, join the email list and grab the free Gift Ideas for Him Checklist. Then take a look at the Desk Setup and Cable Organization Planner and the Tech Gear Planner Log Book below this post, in case either one fits the way you like to work.
Printables and tools that can help
Desk Setup and Cable Organization Planner
Printable pages to plan a tidy desk, label cables and map charging...
See detailsTech Gear Planner Log Book
A 100-page log book to record your gear, settings and plans for your home office or study...
See details